19/03/2017

Aspern-Essling commission. Building base 1

Hello, hello :-)

I have finished the Aspern-Essling first building base commission (got another couple to do) and I must say, it was a joy to do and I'm rather pleased with the result. You'll have to forgive me as this post will be a bit picture heavy.

It's a 28mm commission of a series of building bases for the Napoleonic campaign surrounding the Austrian/French battle of Aspern-Essling.

I was given a couple of very useful photos by the client as a starting point and I also did a fair amount of research myself. I already had plenty of German/Austrian reference photos for the earlier 10mm builds I'd done but a few more doesn't hurt :-)

The basic layout for the first two were sketched out and approved, then it was onto the building with the base size being 445mm x 305mm.


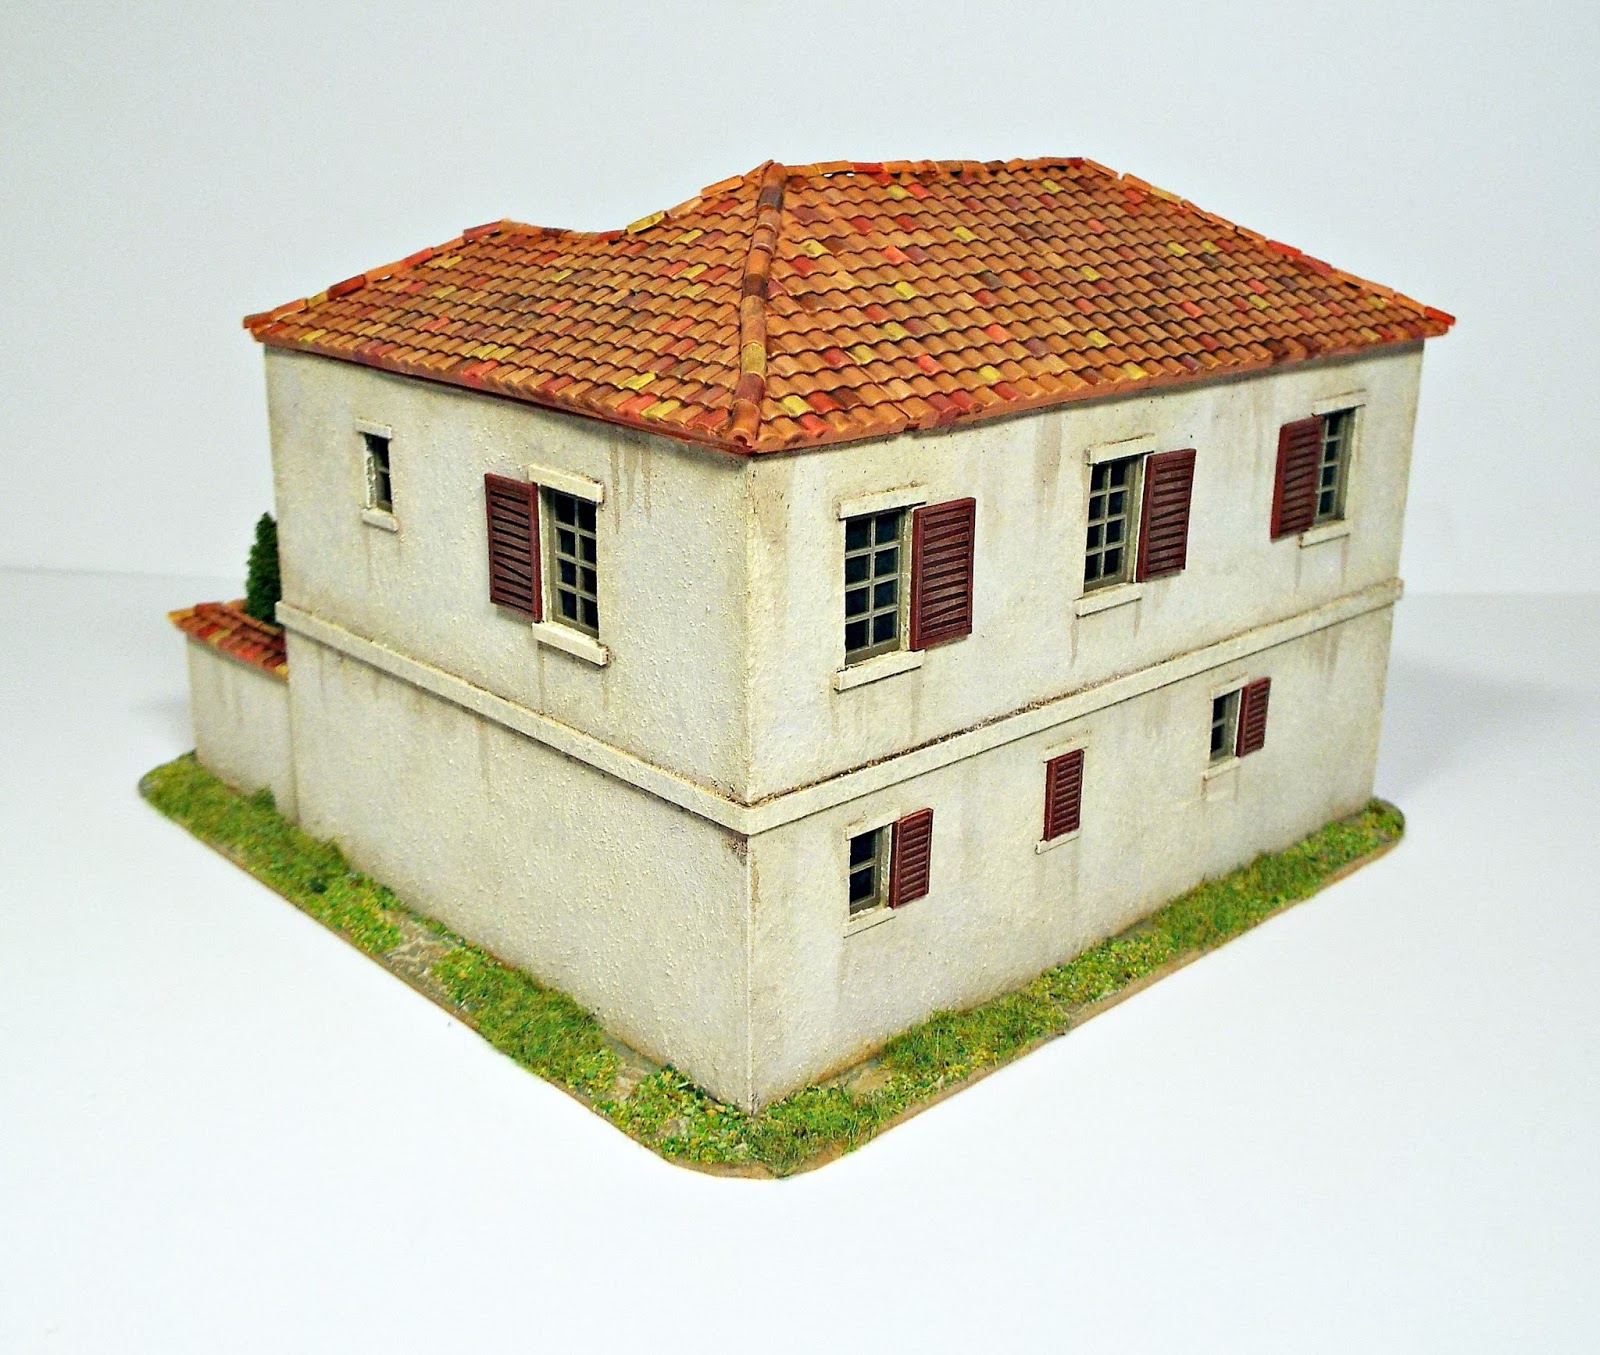
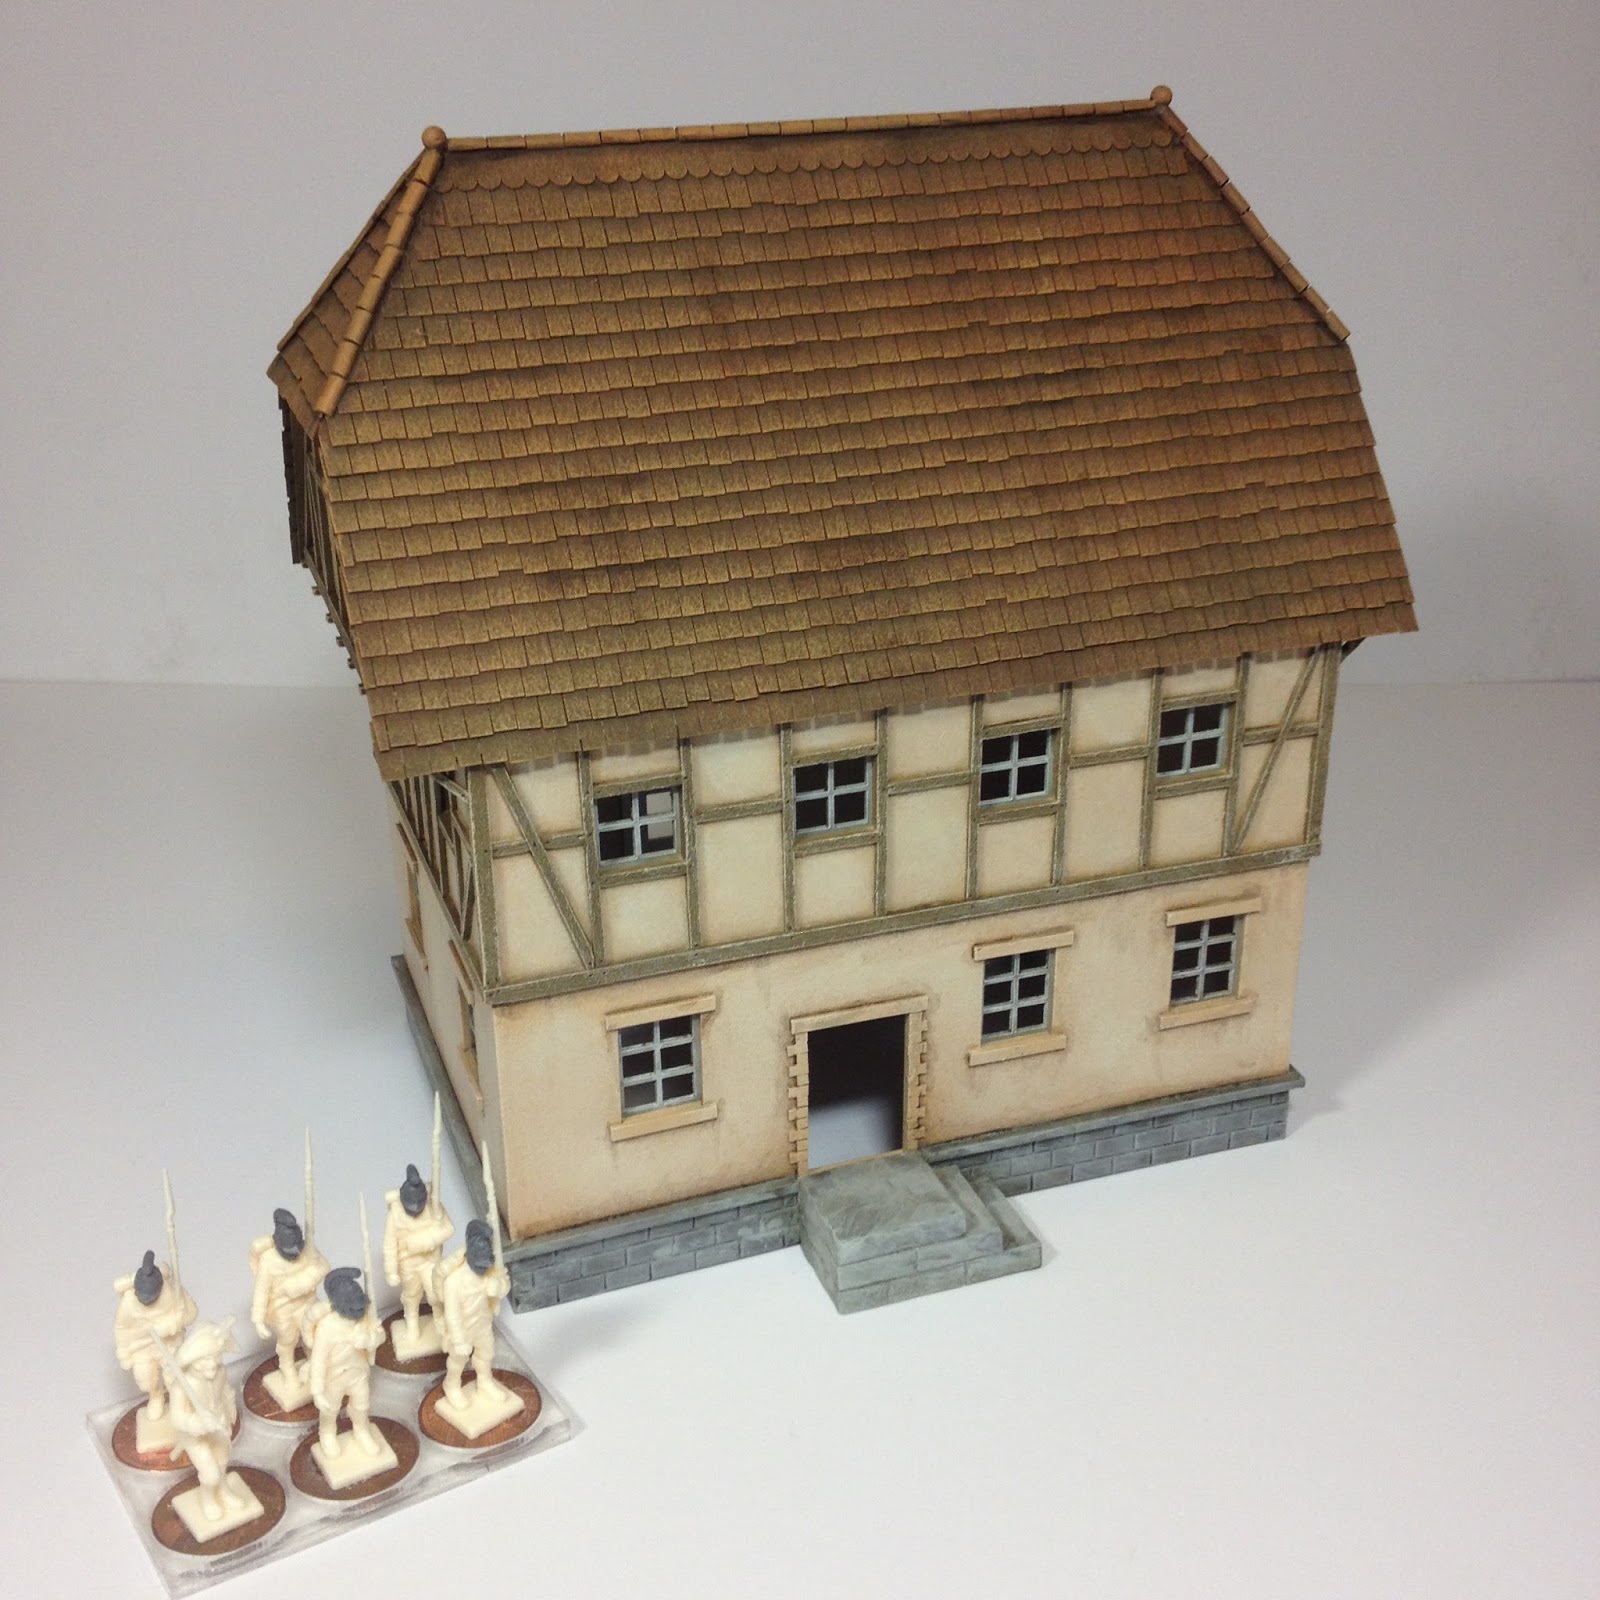
I decided to make them by hand this time. Using the laser is all well and good but sometimes the appeal of hand making something, well, appeals :-) The only lasered elements were the window frames, main building quoins/coping and the roof tiles. There is also a limited amount of textured styrene sheet in certain places (which should be apparent from the photos).

The smaller building was boxed out first and I decided to mask and spray the buildings for this as it would give a subtler finish than hand painting. The masking takes a while but on the whole I prefer this method as it's cleaner and neater. As you can see, the whole building was sprayed the panel colour, then the panels were masked out and the wood colour was sprayed afterwards. Once everything was de-masked the whole lot was given some subtle drybrushing and weathering.


The timber work was time consuming but unfortunately, buildings of this ilk tend to have plenty of beam work and so there was no chance to scrimp on it. The main building was a bit easier as it was just stone and plaster work, with exception of course to the tower on the side. The colours for the whole building were kept to the same palette so nothing jumped out or jarred.

All the buildings were done and complete before they were stuck onto the base and when this happened the ground work was applied and then the growies (quite possibly my favorite part of most commissions). The growies weren't over the top, just a good balance between practability and looks. A few other items were added to make it looked lived in, including the washing line and I think they help to finish the whole lot off.

I'll leave you with a bit of a photo dump of the final, edited pictures.


ttfn

15/03/2017

SALUTE 2017. The board

For this year's Salute I'm going to be hosting another samurai table but this time I'll be making a full sized tenshu to go in one corner. I've been meaning to do this for a while now but I've finally got round to it although typically, time is running out...

The basic drawing is done so hopefully there won't be much more 'planning'involved

I'm cheating a little bit with the roof tiles. As time is short I've decided to draw them up and get them 3d printed and then cast the printed parts (which should be available at the show itself, time allowing) to make up all the different sections.


The tenshu (keep) itself isn't based on any one in particular but has familiar elements from several different ones and follows the basic principles (this image is taken from the internet).


I've started on the upper level and have made a good inroad to cutting out the materials for the lower levels. Keeping it simple will help to get it done on time lol. The tree on the screen as quickly hand painted with inks (I used to do this quite a lot at coll


More posts to follow as and when there is more to show, hopefully once a week.

ttfn

14/03/2017

SALUTE 2017

Salute is nearly upon us again and this first post about it will be more of a promotion one as the floor plans have been released and there are two versions below. One for the OSHIRO trade stand and one for the samurai game (more on which very soon). I'll post this again closer to the time :-)

 Trade Stand

Gaming Stand

Hope to see you there :-)

ttfn

12/03/2017

And yet another Spanish building base

This time. it's a church for Davids village. I did a fair amount of research for this one as I wanted something small that looked right so I had to take a few elements form different churches over the peninsular. I think it works quite well.

Once again, apologies for the dearth of wip photos as I seem to have lost the ones I took (something to remember in the future...).

The main construction for this one again was card and the buttresses were chunks of blue foam cut to shape. The whole lot was covered in the same texture as the other buildings and the roof was Wills pantiles (again, the same as the others). Windows and the door were lasered and a few more growies then normal were added to help enhance the base.


ttfn

09/03/2017

Another Spanish building base

David Imrie (Saxon Dog) asked me to make another Spanish building base a while ago and here is the result. It was decided to make a fancy house that could be the 'mayors' house in a typical Peninsular village. David is using it for Carlist wars but it could also be used for Napoleonic warfare.

Again, not many wip pictures (I do have some more but I can't find them) but suffice to say, it was a fairly simple build, the only difficulty was getting the smaller roof section right without wasting to much roofing material.


Now, I can here some of you cry out that I'm using dice for corner bracing, and you'd be right :-) To be fair though, they are old ones and I have a rather extensive collection of dice anyway,so they won't be missed that much. They are also great for getting square corners!

The veranda on the first floor was lasered along with the windows but everything else was cut by hand from mounting card, and most enjoyable it was as well. It's good to do things by hand every now and then.

Here are the finished pictures. I'm quite pleased with the ornamental garden I managed to squeeze into the corner, it finishes off the whole building nicely. The water fall was a bit of clear acrylic painted underneath and then given a stipple of gloss varnish on the top for the water effect.

Painting the tiles wasn't fun though lol


ttfn