A little bit of whimsy tonight as I'm going to show you the progress on a project a couple of us are doing at the moment (although it's gone by the wayside somewhat, what with holidays etc). Some of you may have seen this on LAF a while back but I though I would post it here to help give me some more inspiration to carry on!
On the left we have F**king Massive John, a monster of a figure from Foundry, from the soles of his feet to the top of his head he stands a whopping 38mm :-0
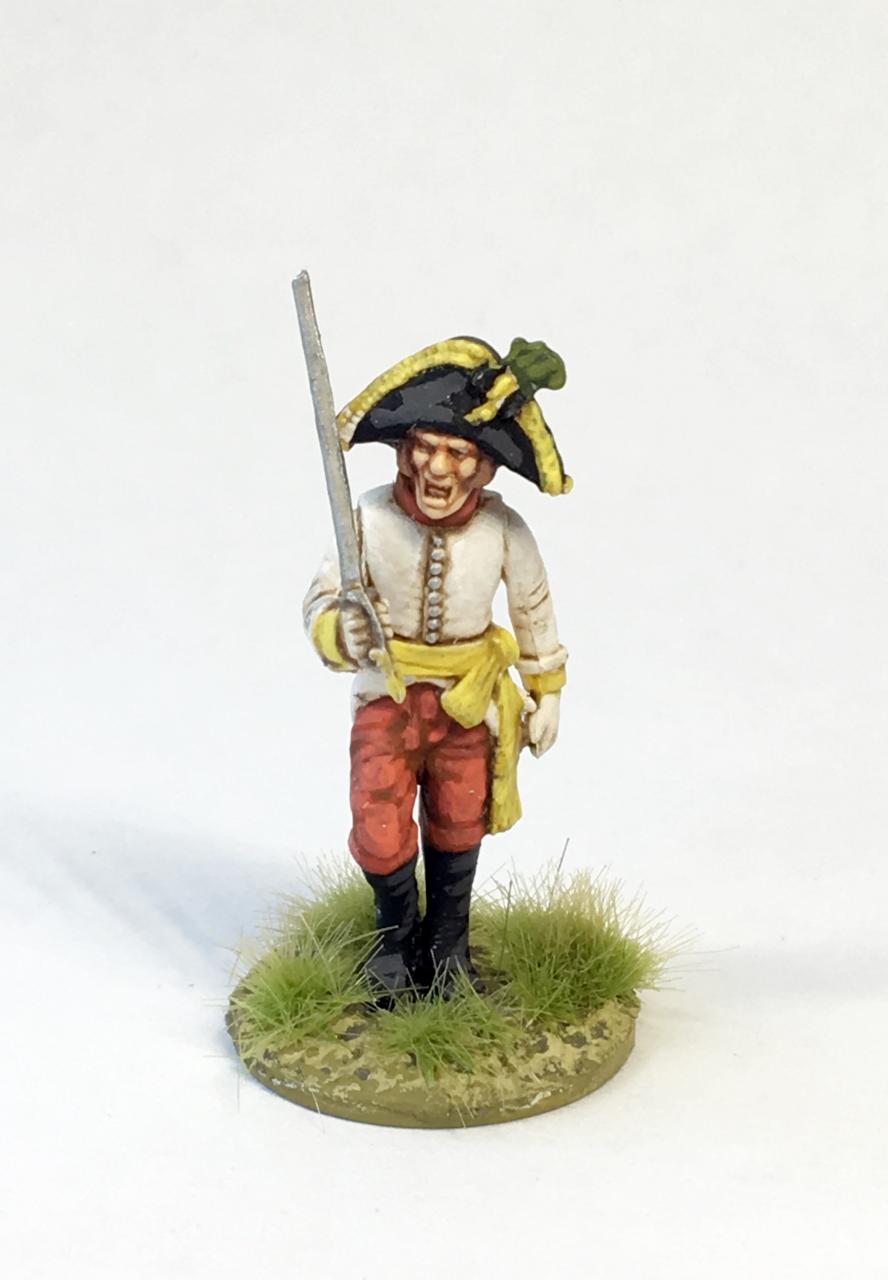
The idea for the campaign was to have a Hollywood version of Robin Hood and all the cheesyness that comes with it, being predominantly a terrain builder I'm making the buildings but I am painting some factions to play with (one shown on the left) and I'll post some more in another blog post in the near future.
The initial buildings were to be kept quite simple, thatched hovels for the most part which are quite quick and 'dirty' to do. Below you'll see various building shots.
Simple card walls with balsa timber and textured paint for the panels and teddy bear fur for the thatched roof (you can see here the size of FMJ next to a Perry monk.
After a few of these were made a church was needed. I've already made a couple of these so the template was ready to go but I added a small cemetery and a rather large tree.
The colour scheme was kept broadly the same as the hovels and the groundwork was done in the usual way.
The graves were just lumps of acrylic that were the right sort of size with a small mound in front and the wattle fence used bristles from a brush and were placed on randomly to help give a village feel. I actually haven't got a close up of the fence but will do at a later date).
The windows were backsprayed acrylic and the frames were laser cut. It has been suggested that I use the mesh you can get from Halfords to 'lead' the windows a bit more and I think I'll do it. It will help to make it look a bit busier.
It was heavily weathered and I added a few more growies around the church than I would normally.
I'm also in the process of making a upperclass house with a walled garden and a monastery that will fit on a 18" x 24" base with removable roofs (but this is a long term project, like so many others!).
We've got a fair amount planned for this campaign including an archery contest (very quick but fun rules), a deer hunt, wolf attacks, sheep rustling, an attack on the castle (which I have to make as well) and just normal scraps.
There will also be the Green Knight, Ivanhoe and many other characters from the Robin Hood tales. I myself am fighting for the King but that might change if I keep getting beaten :-)
We have even played a quick game to refresh ourselves with the rules (a disaster on my part where my entire faction was pretty much wiped out). There are photos of this and a few other things below.
ttfn