Showing posts with label SALUTE 2012. Show all posts

03/05/2012

Salute 2012 (picture heavy)

Well, firstly an apology for not posting this sooner and secondly another apology for not posting more progress posts on the boards itself. It got rather busy towards the end, what with stock, pre-orders and boards but hopefully the amount of photos here will sort of make up for it.

I will also have a bit of a write up on various elements that were on the boards and a few thoughts on the show in general (not many though). I warn you now, there will be a lot of pictures at the end of this post :-)

For the board itself, it was decided long ago to make a town, or a portion of a town, that would have been typical of the period and location. Obviously for gaming scale reasons, the town itself had to be foreshortened somewhat but the elements were there.

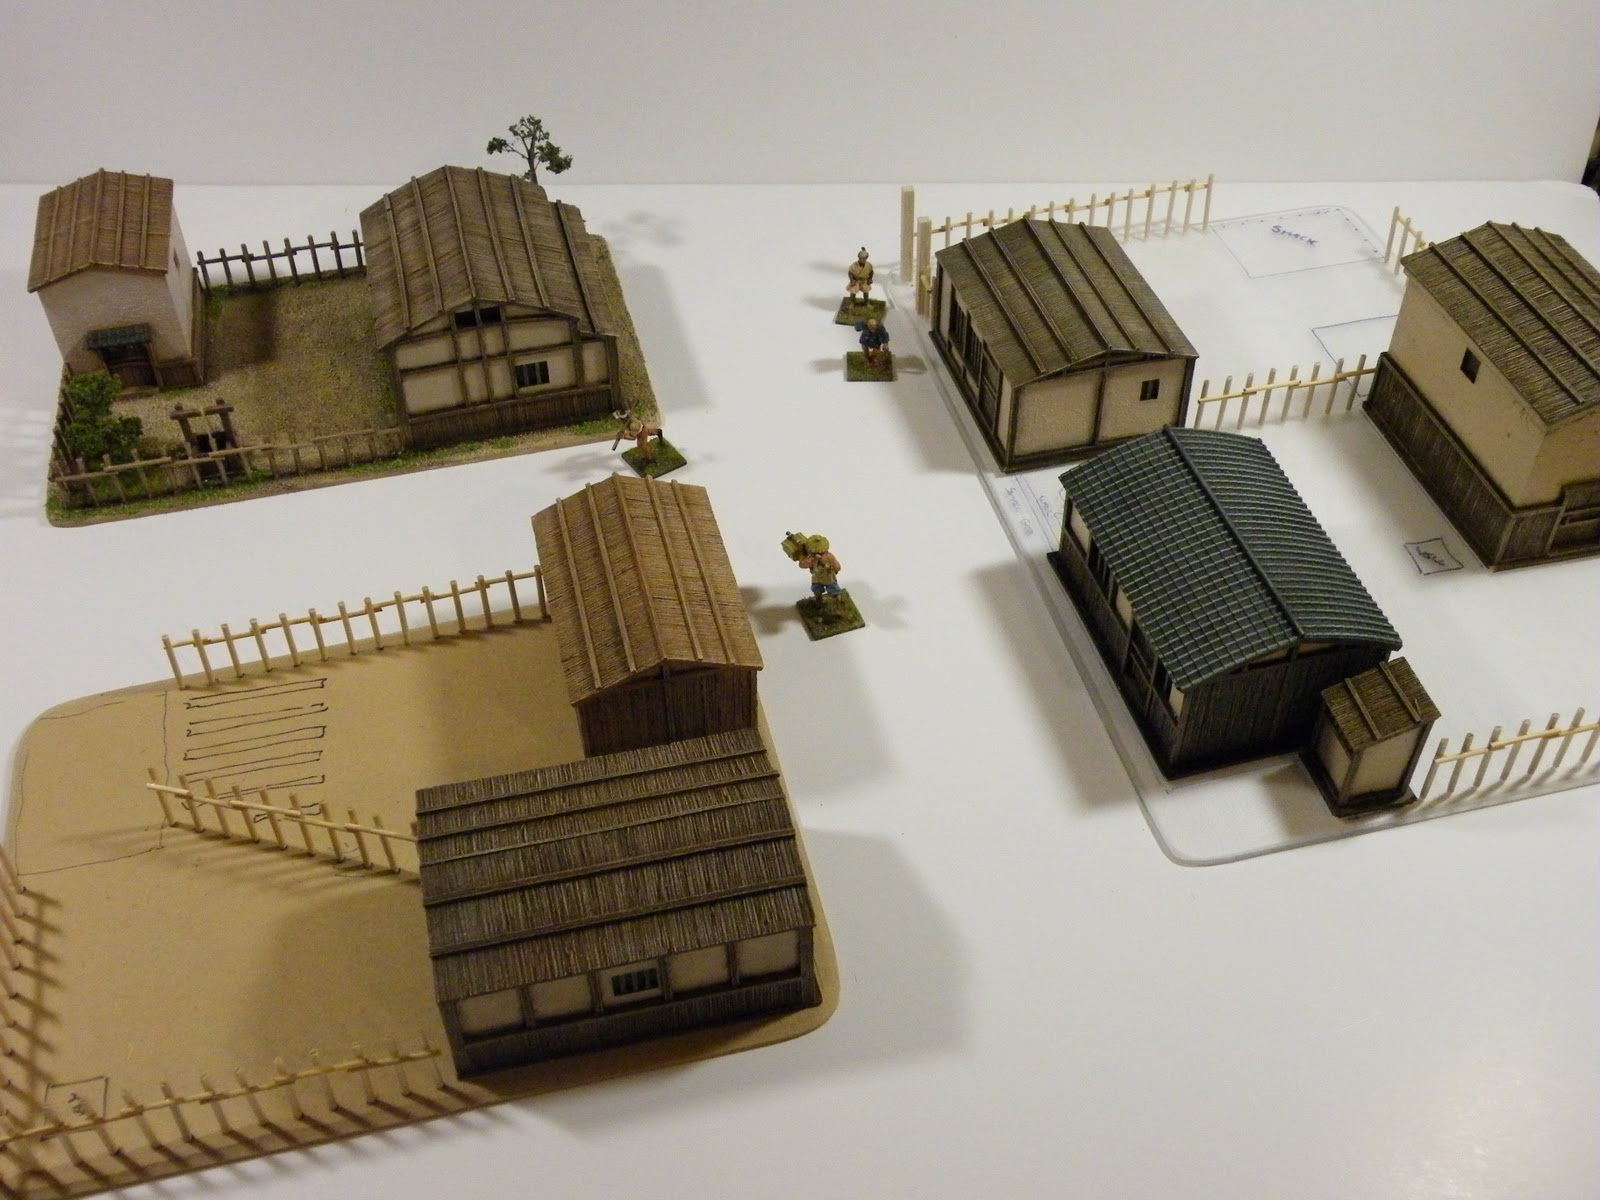
Japanese towns were typically laid out in a grid pattern, altering around whatever terrain got in the way and having various districts such as a merchants one, a samurai one etc. There were also small religious districts or compounds that popped up.

The other reasons to have a town board was to show off the items available in my catalogue and the fact you don't normally see this sort of Japanese game being displayed. It also gave me an opportunity to try some different models for Japan instead of the normal fair that I have been doing recently.

All in all, I'm really pleased with the way it turned out, much better than previous years which I thought were rather lacking in some way or another.

The boards themselves were a mix of previously  made ones that I've had for many years and specially built ones for the town itself.

An interesting fact about Japanese towns is the thought that goes into the planning, they don't just 'grow' but are laid out and constructed to an overall masterplan (of sorts).

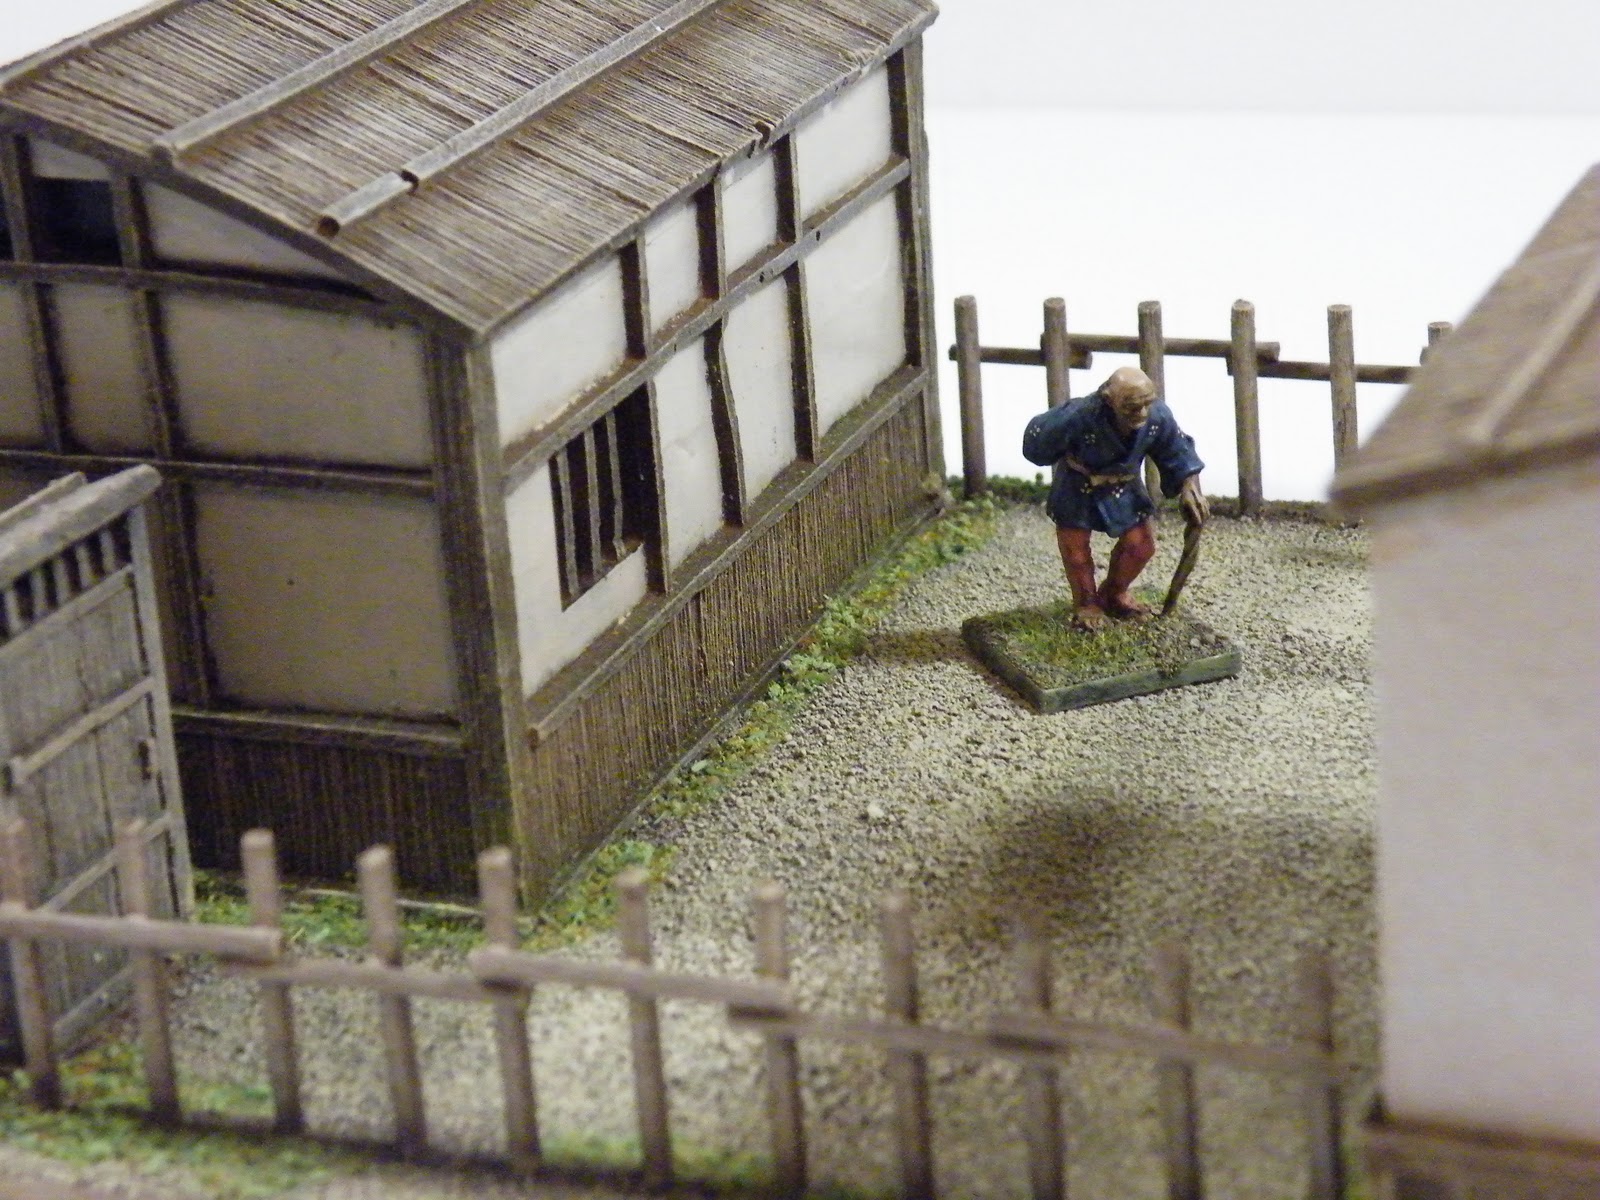
One of the elements that must be included is the addition of drainage ditches that surrounded the various compounds.

They can be seen on some of the closer photos and were basically cut into the boards and either clad with stonework for the richer areas or just left as normal groundwork for the poorer areas.

As I mentioned, Japanese towns were laid out in a grid work, this made the designing of the town a little easier as all my boards are 600mm square so it was quite a simple case of having crossroads, tee-junctions and straight sections made. The only thing to be aware of is the different road widths depending on the location.

Generally, wider roads were in the more affluent areas and had a cleaner look about them, whereas the narrower ones were in the merchant districts etc.

The painting of the boards was kept simple and normal groundwork techniques were used but on the roads themselves, more drybrushing was implemented to give the impression of well worn thoroughfares.

A few bits of greenery were added here and there just to break up the monotony. 

Most of the various elements can be seen in more detail in other blog posts (roadside shrine, building bases, village base, paddyfields etc) but one thing I wanted was to have a pagoda in it's own little compound.

The construction of this was kept as simple as I could get away with but still with enough detail to make it 'work' as a recognisable structure. The top roof was from the roadside shrine that is in the catalogue but everything else was made especially for it.

Pagodas usually come in either two story, three story or five story. The two story ones are different to the typical looking three and five story ones but I'll be making one of them in the not so distant future...

The actual layout of a pagoda is quite straight forward, ever decreasing floors with projecting roofs but the trouble lies in the details, of which there are many! Most of the detail is in the roof supports so I had to find a way of keeping the feel but making it easy to build and paint (as time was running out).

I solved this by only having one 'strut' coming out at each wooden 'grid line' (you'll see what I mean from the photo to the right). The floors were simple enough to do, normal box construction, keeping the woodwork simple but retaining enough basic elements to be identifiable.

The roof were cheated a little bit and kept flat, whereas the slope was achieved with the corner pieces making the whole thing a simplish construction. Turned OK in the end :-)

The board got a lot of praise from those who saw it  (from what I can gather) and there always seemed to be a large crowd around it taking photos, which was nice. A few people came over to the stall (which was nearby) to comment on the board, which again, makes it worthwhile :-)

I've probably missed out quite a few things that should be mentioned about the board so forgive me if this is the case, if you have any questions then just leave a comment and I'll reply the best I can :-)

All the figures were Perry's, the vast majority painted by myself and a small faction by 'Janner', a nice chap who frequents various fora and whom I have gotten to know quite well (even though he does take the piss quite a lot :-)

As for Salute itself, it seemed a lot busier with more of a buzz than last year although of course I didn't really get to see any of it although what I did see looked good with a large variation of games on display (many, many pictures on the net now, for which I am rather thankful).

It's good to see our hobby progressing the way it is, ever onward. I'm not going to delve into the reasons and wherefores as others have done before with more clarity than I ever could, I'll just say that it seems to be a good time to be a wargamer :-)

My own little offering (Oshiro) is growing steadily and it's been a pleasure to be able to do what I can and coming up with new things to make and hopefully expanding the niche that I've found myself in :-)

I'm looking forward to the coming year as I have quite a few new things on the horizon and hopefully they will prove useful and popular. Just to be a bit of a tease I'll just say that there will be a new figure range (other than the Boxer Rebellion) and a couple of new building ranges (other than Japanese).

Anyway, I'll leave you now with a fair few more pictures of the game on the day and a big thank you to all those who came by, said hello, had a brief chat with and those I managed to inspire :-)

ttfn


20/02/2012

SALUTE 2012 progress

Had a great weekend just gone working on the samurai Salute board and for today I'll show you one of the complete 2x2 boards.

The basic layout is shown to the right, about half the board is river with a typical Japanese bridge crossing it and the other half is a more common area of the town.

The parallel lines are the gutters, more on which later. The main construction is of 12mm MDF (generic wood, resin and glue composite) which, although heavy, gives a sturdy platform on which to build and paint.

The MDF doesn't go all the way under the raised bit, just a little to provide the top portion a bit of support. The top is also 12mm with the gutters cut out on the table saw.

The bridge is the main feature on this 2x2 board so a bit of time was spent on it. Finding reference was easy, I didn't even have to look in my reference folder, a quick google image search was all that was needed.

To build something like this the most important thing is to jig it up right at the start.

A 'jig' is a framework, support or construction that aids the building of another piece, usually they are sacrificial but get them right and it makes the whole job easier. Time spent making a decent jig, no matter how small the actual piece will save you a lot of frustration!

As Japanese bridges are on the whole arched each set of legs (five in total) had to have a seperate jig, all that was needed though was to slightly alter the height of the drawing and then cut out the parts on the laser, assemble them and place the balsa parts.

The cross members are from lasered perspex as it will lend strength and you won't see then that much. Once each set of legs is made they are attached to the main 'sleepers' by way of another jig (which I forgot to take a picture of) and then the top planks are glued on. I might go for a hand rail at the sides but as I want to get the main stuff out of the way first this will be a last minute option.

The 'banking' is made from a yellow insulation foam (the same type used in the corner paddy fields). This has been pounded with a suitable rock and then the stonework marked on with a sharp pen.

The ground work was done in the normal way of fine sand, inked over with brown ink and then brought up with several drybrushes of lightening tans. A small channel was cut out of the banking (which was painted light grey, shaded and weathered after) for the gutter water to run out of into the river.

Small 'bridges' were made over the gutters out of thin balsa to give the appearance of allowing the town dwellers access to their houses/shops. The river was also painted at this stage with varying greens and given several coats of yacht varnish.

The shot to the left shows a bit of closer detail of the small bridges and the bank. Some yacht varnish was also applied to the bottoms of the gutters just to add that little bit extra. The bridge was then painted brown with a lot of drybrushing to bring out the wood texture. small amounts of growies and grasses were added in various places to enhance the general look of the area.

As ever, I'll leave you with some more shots of the complete board. A better discription on the whole project will be in the next post in the coming week or so.


ttfn

12/01/2012

Slowly bringing in the New Year...

Bit of a slow start for me this year. Not work wise, as that's been very busy (along with commission work) but just getting used to there being a New Year. Didn't seem to sink in that much.

Any way, for the first post of the year I've got a little diorama/terrain piece and some more for the SALUTE table.

This piece was for a very nice chap called Brian who is great to work for as he has an idea and then lets me get on with it using my expertise in the subject.

It was for a smallish addition to some of the other terrain I've done for him (see photos below) and is a yadoya, or inn, on a small separate base with an attached garden.

Most houses etc in small towns and villages (right up to the largest ones) would have a small garden or enclosure out the back. This would be used for perhaps a small garden, storage area (the unpainted building in the photo is a small kura or storehouse) or sometimes just a semi private place away from the bustle of the main street.


Construction was quite simple, a yadoya was taken from my stock and put in place at the front of the base, a fence was first sketched in place and then later permanently attached. it needed to be worked out first for the even placement of the uprights.

A small storehouse (or kura) was made next based on the same sort of design as the one in the catalogue but smaller and this was placed at the rear.A small well was built also and put towards the rear as this sees to have been the case more often than not. An outside toilet was also added to the side of the inn.

Once all the parts were in place the base was sanded as normal and then painted in the same way that all the Japanese terrain is done.

You can see the layout of the piece in the photo. The bases measures approximately 150mm x 250mm.

A couple of trees were added to give a bit more character and the well had a small rope with a weight attached. a few growies were added around the base to break up the ground colour.


Doing this piece has added to an idea for my SALUTE board by utilizing the same idea for smaller, individual 'boards' that have one or two buildings on and can lead to greater variety in the future.

As you can see it is a very versatile set up with plenty of options, especially with more building bases. The one on the right is for Wayland Games as I am making their Bushido board for SALUTE (more posts on that soon). The one to the rear is Brians and the one at the front is mine for my SALUTE table.

For now I'll leave you with a few different shots of the original building base.


ttfn

27/11/2011

Starting for SALUTE 2012

Well, I've been getting bits and pieces done for a while now but now I've started in earnest.

This years samurai board will consist of the outskirts of a town, a fair few hills, a bit of a river, some of the terrain that has already appeared on here (namely the roadside shrine) and if I have time a corner yamashiro, tall but compact.

The town will be sized down in reference to the ground scale (what I mean here will become clear in time) but most of the elements will be present.

Every Japanese town of the period would have samurai mansions and residences as part of their makeup. I've chosen the easy way out for this table and I'm only going to show the outer walls/ancillary buildings.

Basically, the town would have the richer, more influential people (generally samurai or high court officials etc) towards the centre and the poorer, merchant types towards the suburbs (merchants were treated as a lower class of person in the period) including the retainers etc. This of course wasn't a hard and fast rule but quite common.

I'm going for a mix of the different areas with the higher class buildings on one edge of the boards and the lower class buildings encroaching into the board itself.

For the buildings shown they are just about done apart from the tiles roofs on the entrance and long storehouse. This will be done this week.

I will also be doing some plans of the table layout to help me along the way and when done I'll post them up here.

For the actual town I will be making urban boards (again, shown on here when done) and I hope to have a few vignettes in various places to give character.

For most of the normal buildings I'll be using items from my catalogue but there will be a few special ones thrown in to break it up a bit. The table itself will be 12x6 and the fight will be happening along the length instead of the width. The idea being that the attacking troops will be coming in from the mountains and the defending troops coming through the town. All will be made clear later :-)

ttfn