08/12/2014

Whilst the going is good...

I'll post some pictures of some recently painted figures. I think most of these have made an appearance on the LAF but seeing as I'm in a posting mood here we go :-)

First off are some Bac Ninh figures, Shogunate officers and men. The chap with his arms behind his back is actually a Copplestone naval officer with head swap, seemed to work quite well.


The next lot are some Game of Thrones figures using mainly Perry WotR plastics with some Gripping Beast dark age heads and arms. There's also a bit of green stuff in the way of cloaks and wooly bits. I've got a fair few more of these put together and will hopefully paint them soon.


Also we have some old Games Workshop 'Dogs of War' figures that the Perrys did a while back. These are for an ongoing 'Army Painter' project on the LAF. I've got an awful lot of these (mainly pikemen and crossbows) but they'll get done eventually.


Finally some VSF figures for our ongoing adventures on Mars. Mainly a mix of Perrys and Copplestone with a few small green stuff bits here and there and the odd head swap. And as a slight departure from our normal 28mm shenanigans some 10mm Sudanese Brits from Pendraken that are on Mars. I'll be making a lot of stuff to go with these hopefully... Watch this space...


ttfn

07/12/2014

10mm for a change

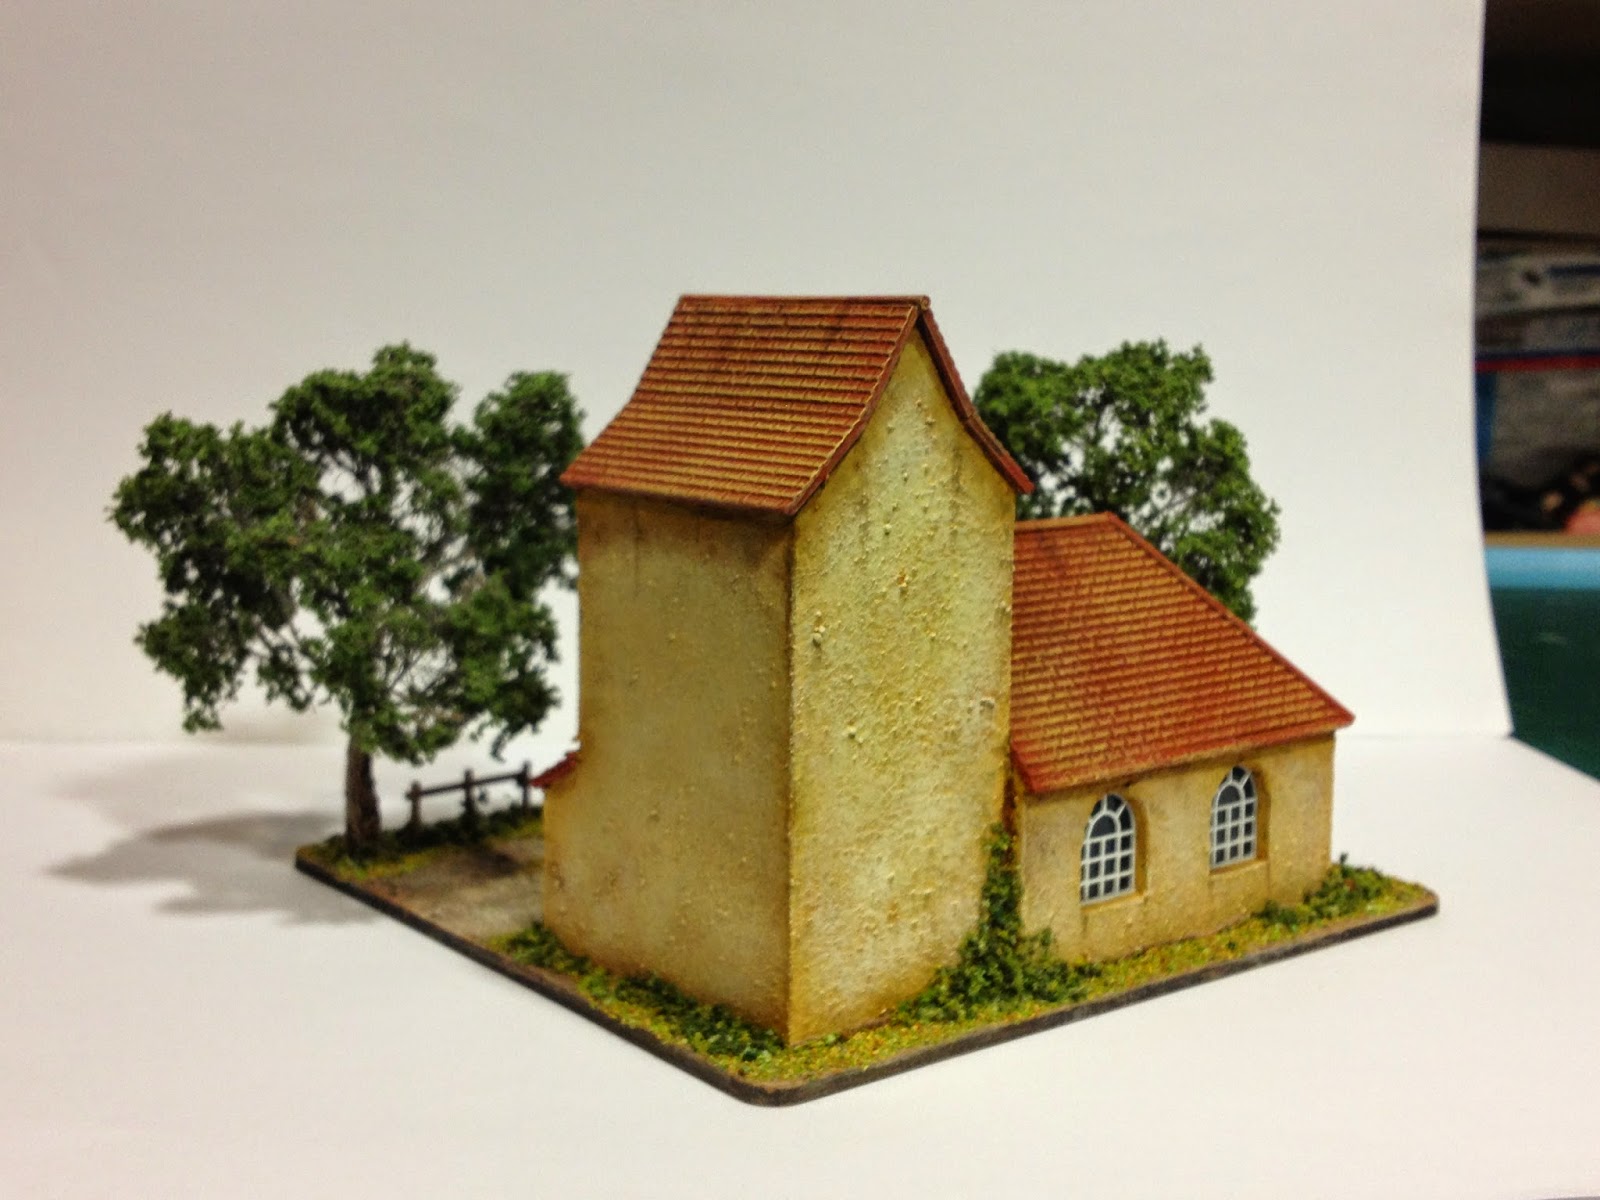
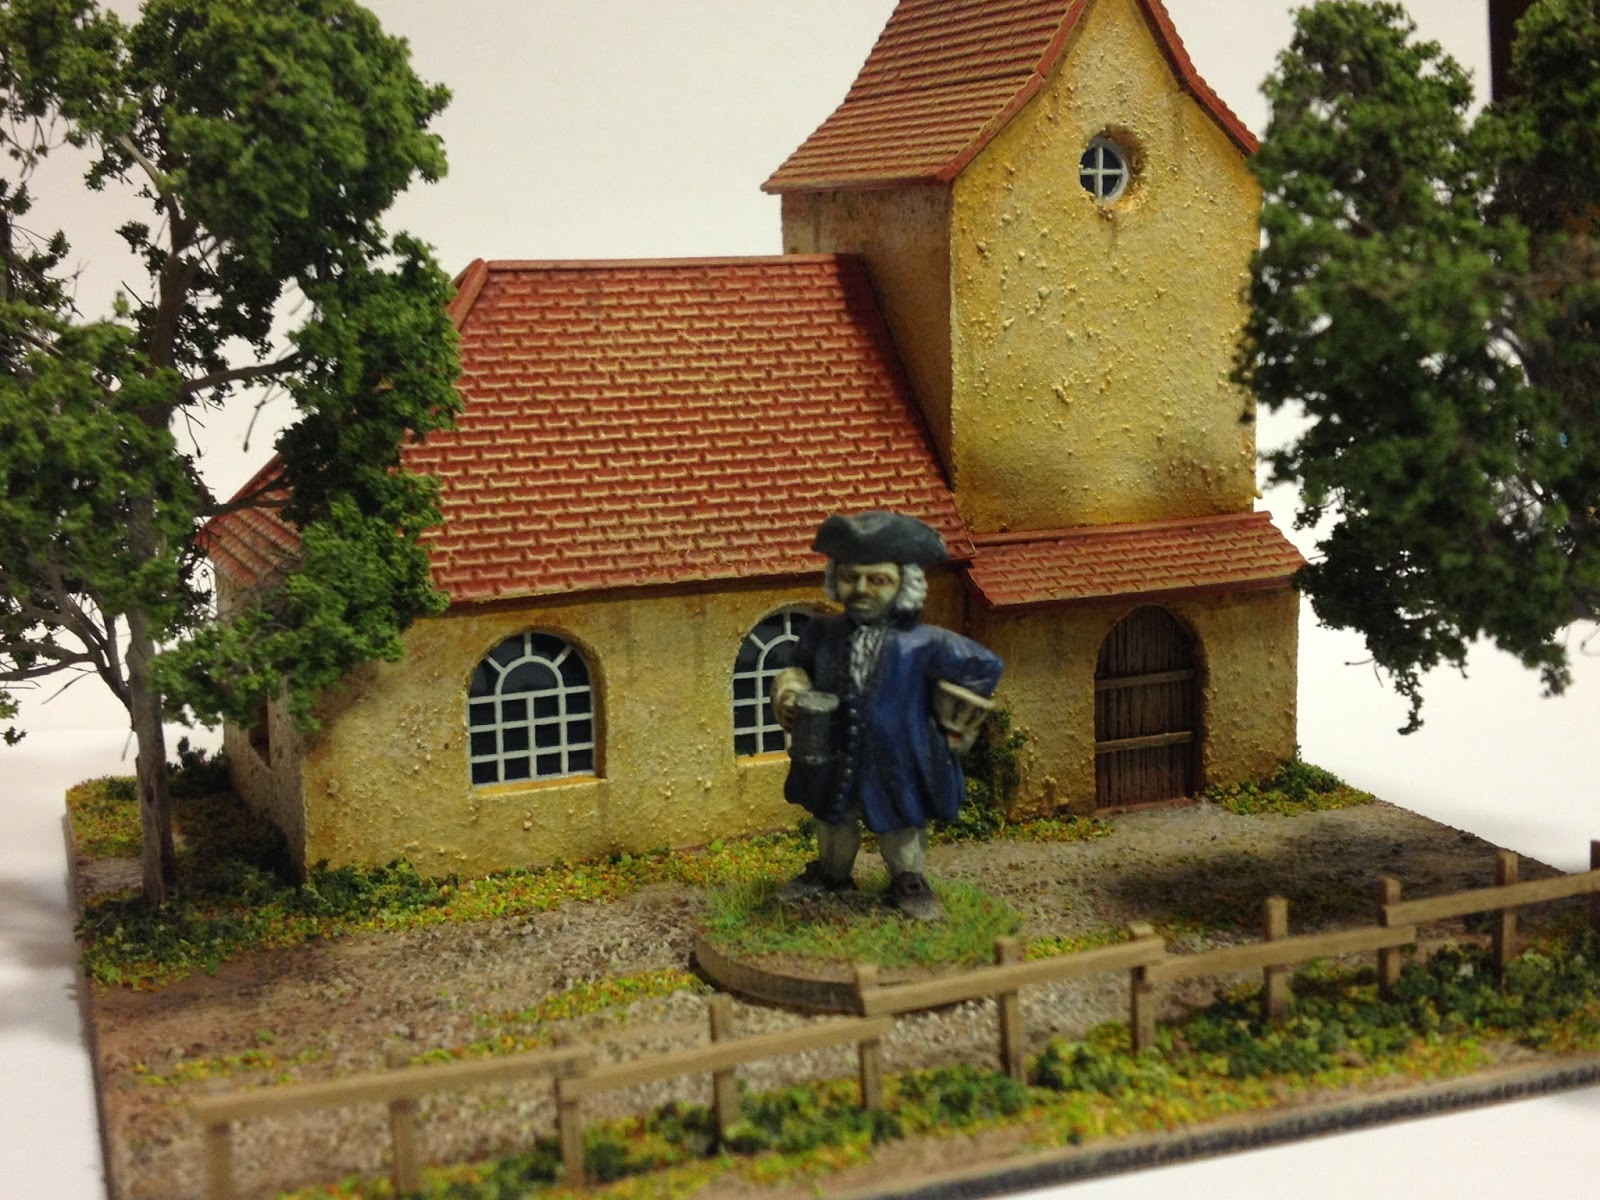
Got this little commission in a while ago of a Saxon church. Not the Dark age types but the region in Germany.

The inspiration from the client was from John Boadles site as he had already made one in 28mm, to fit on a base with a fence and a tree or two.

Quite a simple brief and yet quite an enjoyable model.

I actually made this one the 'traditional way, as in all hand cut from card.


The base was supplied and it was just a little work to translate the original 28mm model into the smaller scale and to fit nicely on the base.


The roof was also made from card and the tiles are from an old styrene sheet that I had to hand (I have since been able to find the same sheeting from EMA).


No more progress shots of this but the windows were lasered and the door was scratched from balsa wood. The fence was a bit of timber cut down very fine, I used timber because of it's strength and the size needed, balsa just wouldn't hack it unfortunately.

The trees were old etched ones from work that needed a bit of love before putting on. The groundwork was a fine mix of textured masonry paint and fine sand given the smaller scale but painted in the normal way with several different types of flock to break it up.

It was painted in Foundry colours to help give the richness of the original model. I'll leave you now with the finished photos. The figures are Pendraken 10mm Spaniards (the only 10mm I had for size) and a 28mm 18th century chappy tjust to show the scale difference.

ttfn


05/08/2014

The Pathans are watching

I recently finished a commission that'll be winging its way to its new owner this week.

A Pathan watchtower.

I was given an image of such a watchtower to base the build on but I thought it looked a little regular for the back hills of wherever it might be so I altered it a bit...


I started off with a blue foam base and sculpted the stones and rocks into it using a fine ball point pen, quite a simple task but you have to be careful in not letting it look like it's been drawn on. After doing the block work a few stones were picked out with some filler on top to bring them above the flat plane of the building side and then a thin wash of filler/glue/water was applied to the whole of the bottom to help tie it together.


All of the lower floor was painted in a grey/brown and about eight different shades were used to pick out some of the stones to help break up the monotomy. The ground work was done in the usual way, sand, then inked with brown ink and brought up through ever lightning shades of tan. I made it a bit lighter than I normally do to help represent a more arid atmosphere found in the back end of nowhere. Then various growies were applied around the nooks and crannies.


The upper floor took me a good couple of weeks to decide on the best way to achieve it. I was going to use the normal route of cutting textured sheeting and painting it but I thought something a little different was needed... I therefore spent a good few hours cutting up hundreds of little bricks from blue foam. I didn't use a ruler or a straight edge, just a steady hand and a good eye as a little randomness was what was required.

These were then stuck on a layer of thin tape and then built up course by course. The tape was used to enable the top floor to be removed when all was dry and complete as interior access was required.


I built up the layers two or three at a time and fortunately, due to the hot weather, it wasn't taking that long for them to be touch dry and another couple of layers stuck on.

I found it a very pleasing way to build and although it's not as quick, there is more control and a definate 'built' look to it. 


The roof was mainly conjecture but the natural look of it should help to blend it in. A wooden frame was built and then painted, I then used some fine bristles and literally stitched them onto the framework. The fortunate thing was that the bristles were already a decent natural colour and e only thing to do (apart from ink the thread) was to drybrush them. In hindsight, I should've made the roof wider as it's a bit short, but not detrimentally so.

The whole thing stands about 235mm from the bottom of the base and the base itself is about 150mm square.


I'll leave you now with some 'beauty' shots but you might see it on the net somewhere in the future as I believe the new owner is going to get some serious use out of it :-)

ttfn


27/07/2014

The talents of Alex Youngwood

I received an email from a chap the other week wanting to show me a diorama he had made that included some of my products and it was so good I felt I had to share it (after asking permission of course).

His contact email is below if any of you have any questions on techniques etc but I'll just leave you with the photos; suffice to say, it really is stunning work.

juxtimon@hotmail.com 


ttfn


18/07/2014

Intervention...

Just a small post for tonight. I bought a few of the newish Perry British Intervention Force figures with a view to using them in Japan for the many small actions that were fought between the Japanese and the international community (mainly Britain, France and America).

Obviously the Japanese will be from Bac Ninh figures, of which I have quite a few now,  and several terrain items have been started. I've only done two figures for now but more are primed and ready :-)

The 31st (The Young Buffs) were based in China so it's not implausible that an element were transported over for possible land action. Conjecture certainly but I haven't been able to find anything on the British land units in Japan at the moment. 

On to the pictures, officer first, and I must admit I'm rather happy with the hat number on the infantryman, here's hoping I can do it again...


ttfn


15/07/2014

And the Japanese keep coming

Finished painting and rebasing some more Perrys from their samurai range. Two small units of Wako/Ikko Ikki and a few more Murakami.

I'll be using these together in the game to help bulk out the Murakami forces.


Really hoping to get a game in in the next week or two, got the figures, the rules are sorted (well, first draft of changes for Sharp Practise) just need to get the Big Man cards sorted and we're away :-)

ttfn


06/07/2014

Now for something a bit silly...

I have always liked pre-dreadnoughts and ironclads from the latter half of the 19th century, the Japanese battleship Mikasa being a particular favourite. There's a post lower down about the Mikasa so I won't go into it here, suffice to say I've made a start on a 28mm VSF version.

What's this, I hear you cry, why not a proper version! Well, I want something that can be gamed on and a 28mm version of the real thing would be over 2.5 metres long! Bearing this in mind I started to draw a VSF version over six months ago, using a proper set of plans as main reference (scanned colour reference chart from one of the kits).


These were literally dragged into autocad and drawn over and then scale down to a manageable size for 28mm, although it's still over a metre in length! Obviously the shape is still the same but some elements have had to be reduced or left out to make sure that it all fits.

First off the main hull deck was cut out along with the veneer decking. I'm using veneer as it is an awful lot quicker than laying down balsa wood and given the nature of the model I want it is more in keeping with the style that I'm after.


The amount of detail will be simplified but will still keep the main elements and feel for the ship.


All the smaller guns are from HLBSC (well recommended) and the larger ones will be scratchbuilt. It's taken a bit of jiggerypokery to make sure that even though it is smaller it still 'works' and one of the ways I've been doing this is draw a small selection of parts, cut them out and fit them together; if anything doesn't work, re-draw and cut out again. This way I'm limiting the amount of re-cuts as the drawings can be altered in progress.


The crew are from my Japanese Boxer Rebellion range and I've got about 40 primed and ready to paint...

Still along way to go and the most difficult bit is yet to come which is the lower hull and it's 'look'; as with all neffs you can't just copy the hull shape as it looks wrong so a fair bit of thought will have to go into it.

This is a long term project and I might not do anything on it for a while but I have been pressured into getting it ready for Salute next year... We'll see :-)

ttfn